Supplies Quantity
Seam ripper 1
Thread 1
Elastic 1
Directions
1. Seam rip the old elastic out of the pants. Be sure to remove all the seams the pants are stitched down with


Note: If your elastic waistband is rippling like a ruffle then you have stretched it out beyond being able to springs back. You might have to replace it.
2. Cut the new elastic that is to go into pants.

Note: Be use to not use the worn out/stretched out elastic as a gauge because if you do it wont fit properly. The new elastic should be slightly smaller than the waist it is going to worn on. The elastic needs to stretch a little to hug the body without being too tight which can leave marks on the skin and be uncomfortable to wear. I pin the elastic together around my sons waist and had him wear it walking around to see how it felt then adjusted it till it held AND was comfortable. After reaching that balance is when I cut off any extra elastic.
3. Pin the casing down and stitch along the bottom raw edge on the inside of the pants. Be sure to leave an opening large enough to slide the elastic into the casing.


4. Slide the elastic inside the casing. I use a safety pin at the top to push the elastic through the casing. Pin the two edges of the elastic together and zigzag stitch the two ends together.


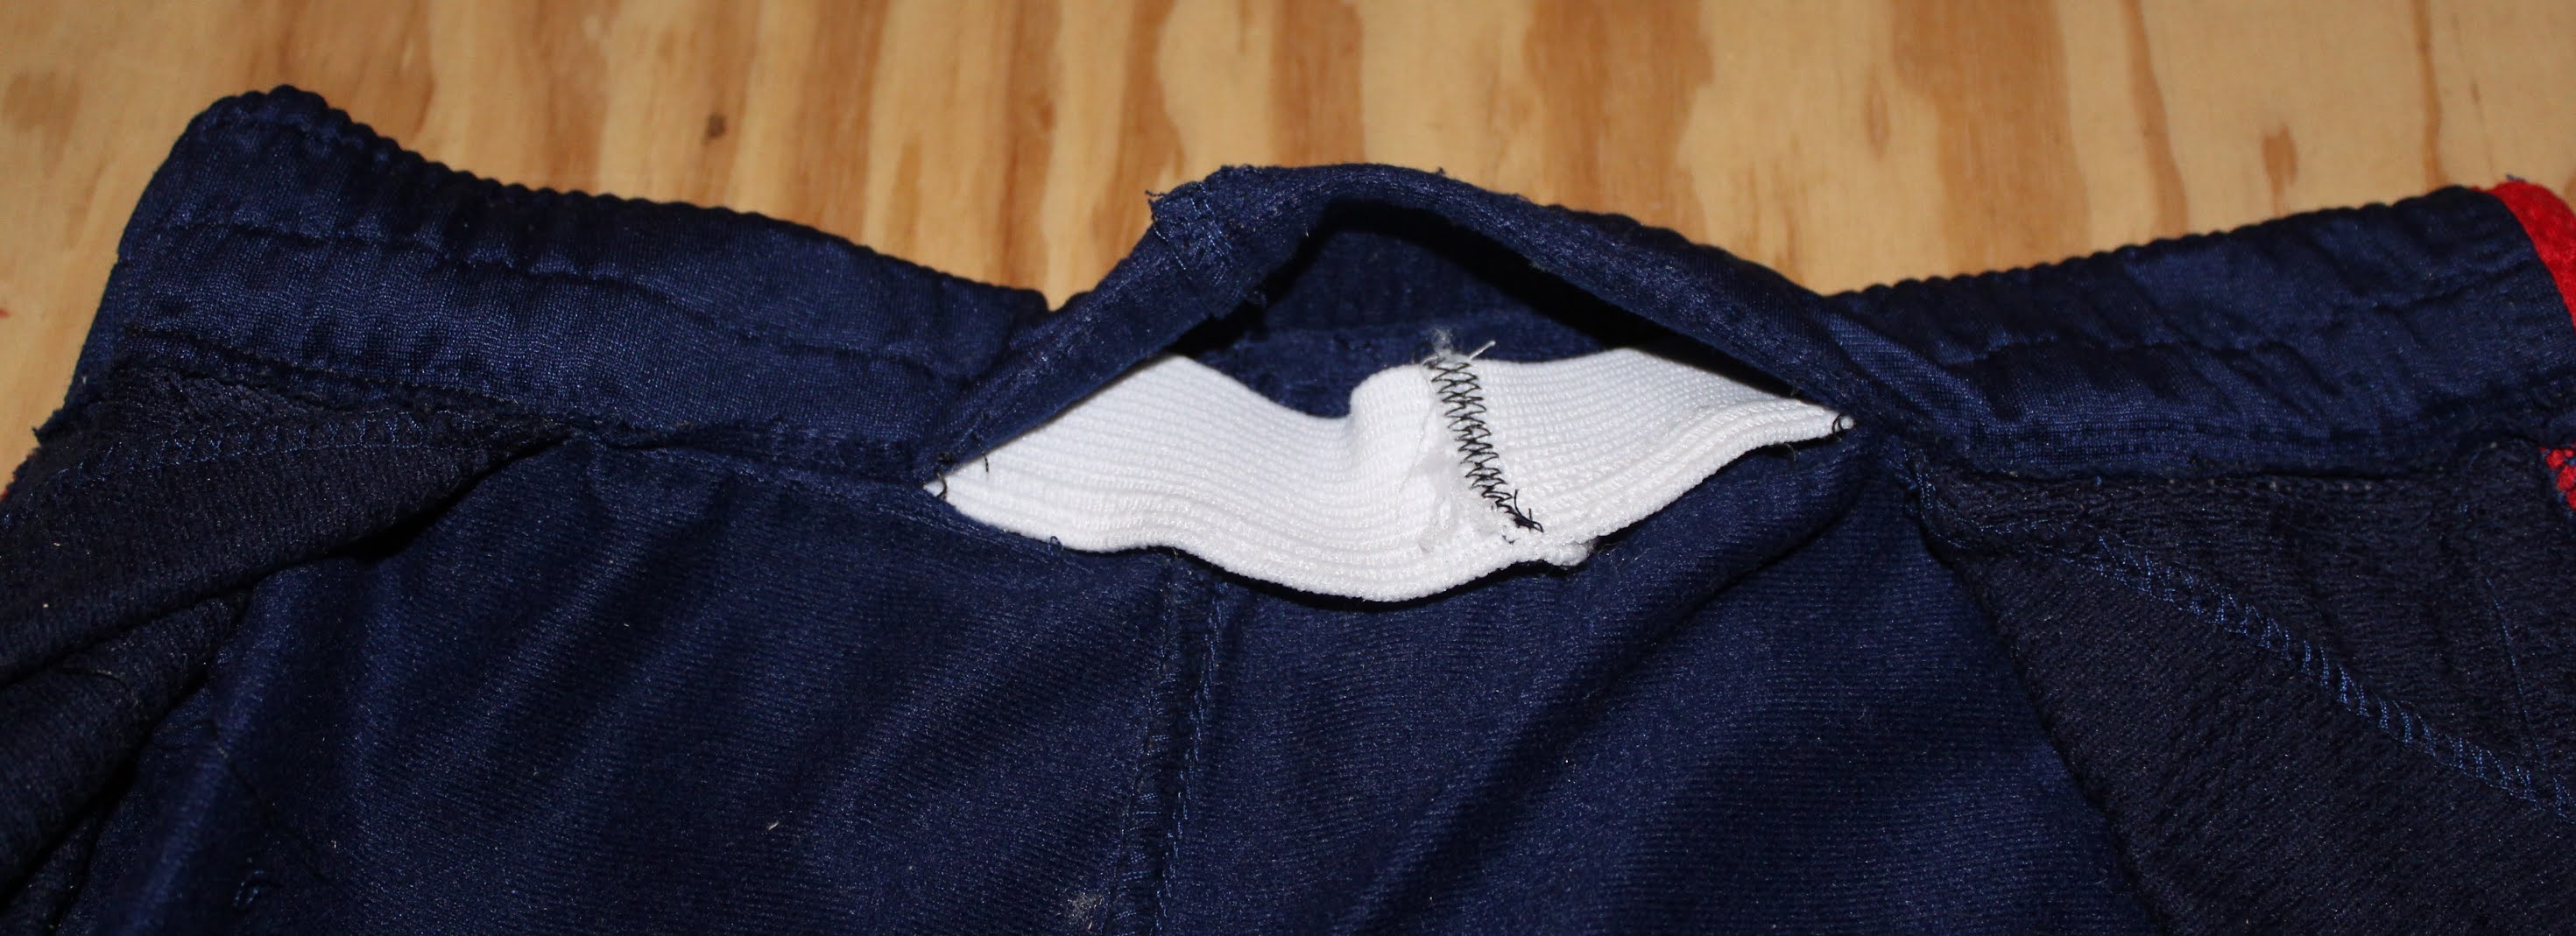
Note: You want to use a zig-zag stitch on the elastic because it will stretch and not limit or strain the seam where the two parts of the elastic are joined together.
5. Pin down the opening you slid the elastic through and stitch it closed.

6. Add at least one row in the middle of the elastic to hold the elastic in place. Do this by stretching the elastic as you sew down the middle. Stretch the elastic as far as the fabric is long. You can also add more stitch lines to the bottom of the elastic or the top if you want.

Note: Why do so many pants with elastic have stitching in the middle and along the edges. It seems much easier to make a casing for the elastic, slide the elastic in then close it up and be done with the pants. It would take make five minutes to complete the practice. So why do so many stores that sell pants with the extra stitching on the elastic waist? Why would a store or business would wants to pay a little more money for the extra thread and time it would take to stitch down the elastic at the waist? My theory is a business would consider it cheaper than all the returns and dissatisfaction of returned pants. When you only slide in the elastic and don't stitch any part of it down after it is washed a few times elastic tends to shift around. A twisted waist line is uncomfortable to wear. Any top tucked into it would not look right because of how it would lay funny. If the top draped over the waist it again would not lay right. It would be a poor business choice to have customers have so many negative experiences. In contrast if you take the time to stitch down the elastic at least in the middle of the elastic the waist line with stay flat and avoid all of those problems.
No comments:
Post a Comment