Messenger
Bag –Harry Potter Style

If you just need the pattern and not the instructions than click here
messenger bag printable pattern
To say our"Soccer Boy" is a Harry Potter fan is like saying cool temperatures are ideal to play soccer in.. He read his original paper back copies so often that we had to get him hard back versions of the book, not because he mistreated his copies but he wore out the spines turning the pages. I have lost track of how many times he has read the series.
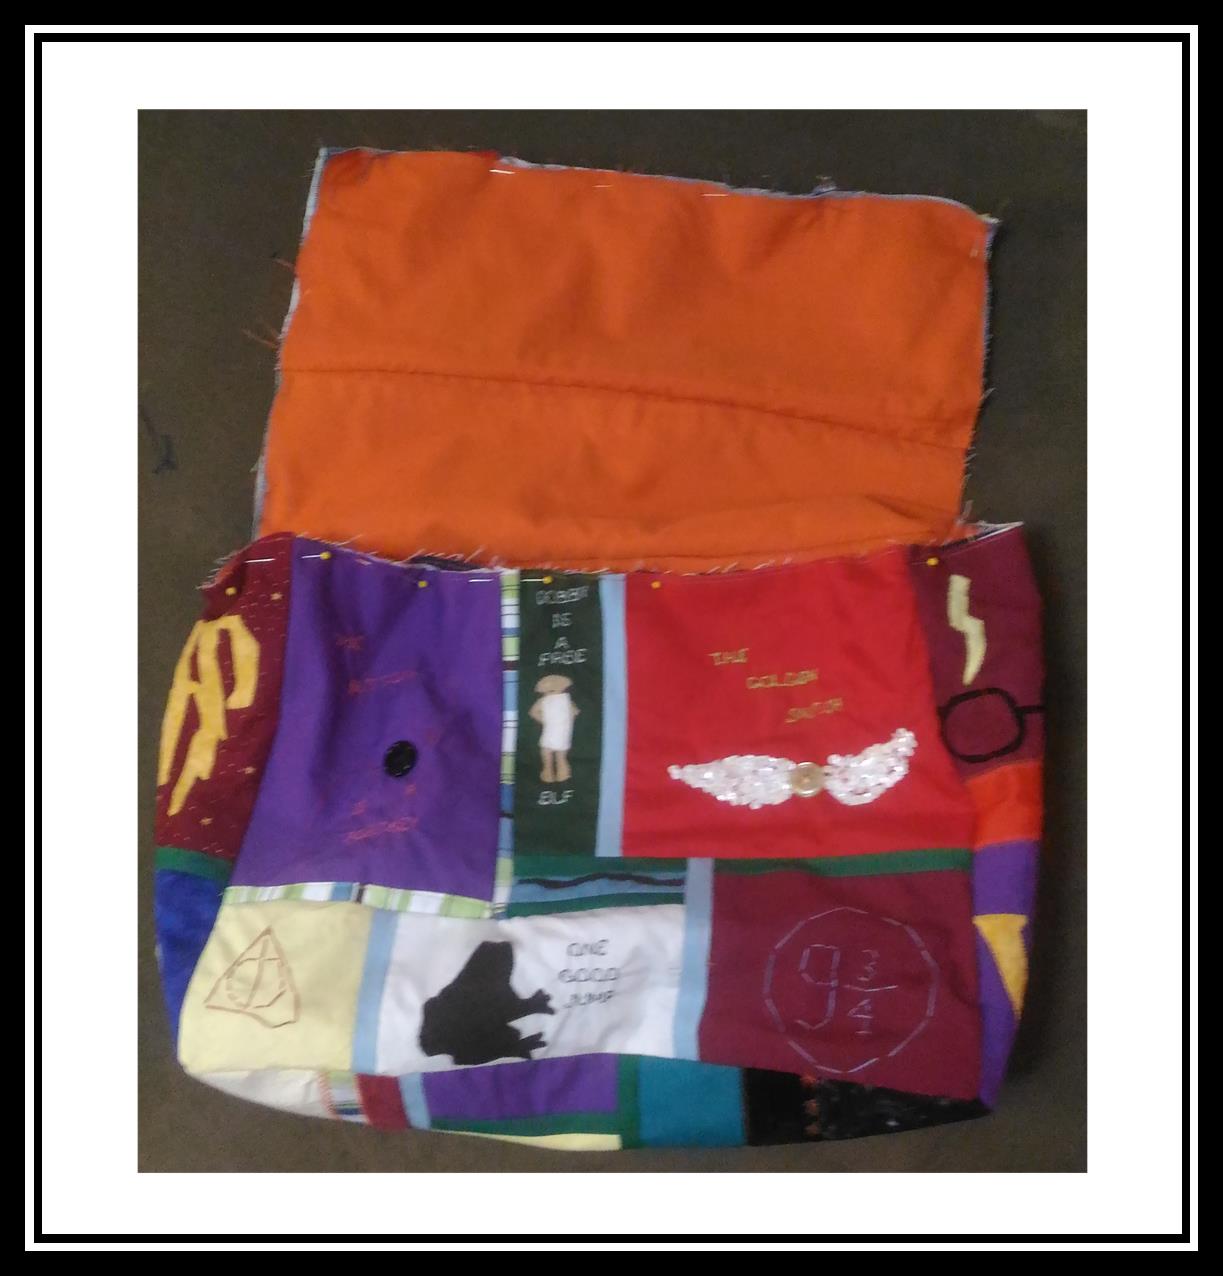
When he needed a new backpack because his was wearing out beyond repair a Harry Potter Themed bag seemed an obvious choice. My daughter"Little Fish" wanted to hep she was so excited about the idea for her brother. This result below is two months worth our work for him.
I did not include the patches patterns because I was not sure if it would be ok with copy right laws.
If you are using brand new fabric then only follow the number
labeled steps.
If
re-purposing clothes for fabric please follow the letter steps and the number
steps in the order laid out.
Step
A
Front
Back

Bottom
Top
Flap
Sides
I
have assembled all the patches. Now I pin the pattern pieces on top of the
panels of patches I have created. Cut. Stitch 1/8” seam around the edge of the
panels. This step is necessary because I put interfacing behind each patch to strengthen
them. I wanted the edges that were cut resealed to the patches so it’s a solid
panel again. If you did patches be sure to place the pattern paper so you don’t
lose anything you stitched. Do this for all outer pattern pieces of the bag: Front, Bottom, Back,Top, Flap, and Sides.
Step#1
Front
 Bottom
 Back
Back
 Top
Top
 Flap
Flap
 Sides
Sides

Pin
and cut all pattern pieces for the outer bag: Front, Bottom, Back, Top, Flap, and Sides.
Step#2
Front & Back
Bottom,Top and Flap
Sides
Shoulder Strap
Shoulder Strap Tabs
Pencil-headphones-glasses-phone holder
Pin
and cut all pattern pieces for the lining and strap: Front, Bottom, Back, Top,Flap, Sides, Shoulder Strap, Shoulder Strap Tabs, Pencil-headphones-glasses-phone holder.
I am
using a large flat sheet I got from our local thrift store The Arc for my
lining fabric. I am seam ripping open the seams. I find this gives me at
minimum an extra 1 ¼” of fabric on the thin edges and about 71/2” on the top
part of the sheet. For me this is worth it because I have been a tiny fraction
of fabric short often enough that I almost always seam rip. The exception is denim;
I don’t seam rip denim anymore because it’s too hard on my hands. After seam
ripping open pull all the stray threads and Iron fabric flat.
Step#3
Front & Back
Bottom,Top and Flap
Sides
Shoulder Strap
Shoulder Strap Tabs
Pencil-headphones-glasses-phone holder
Pin
pattern pieces that require interfacing, It will say interfacing on it. Please
note that on the shoulder strap and shoulder strap tabs the interfacing pieces
will not be the same as the lining pieces.
I don’t
have any pieces of interfacing for this that I think is thick enough so I am
going to use denim from jeans. I am going to cut only along the in-seams to
give myself large amounts of fabric. Please note that I don’t have a long enough
pant leg for the bag strap. So I cut out as much as I could from one section of
leg then pin and cut more than was needed to finish off the bag strap interfacing.
I placed the small second part of the denim on top of the longer length. Pin
the tow edges. Sew together. Iron the seam open and flat then re-pin the
pattern piece on top of the now joined fabric and cut off the excess fabric.
Step#4
Front & Back
Bottom,Top and Flap
Sides
Pencil-headphones-glasses-phone holder
Now take
the lining fabric and place the interfacing on top of the lining pieces. Pin
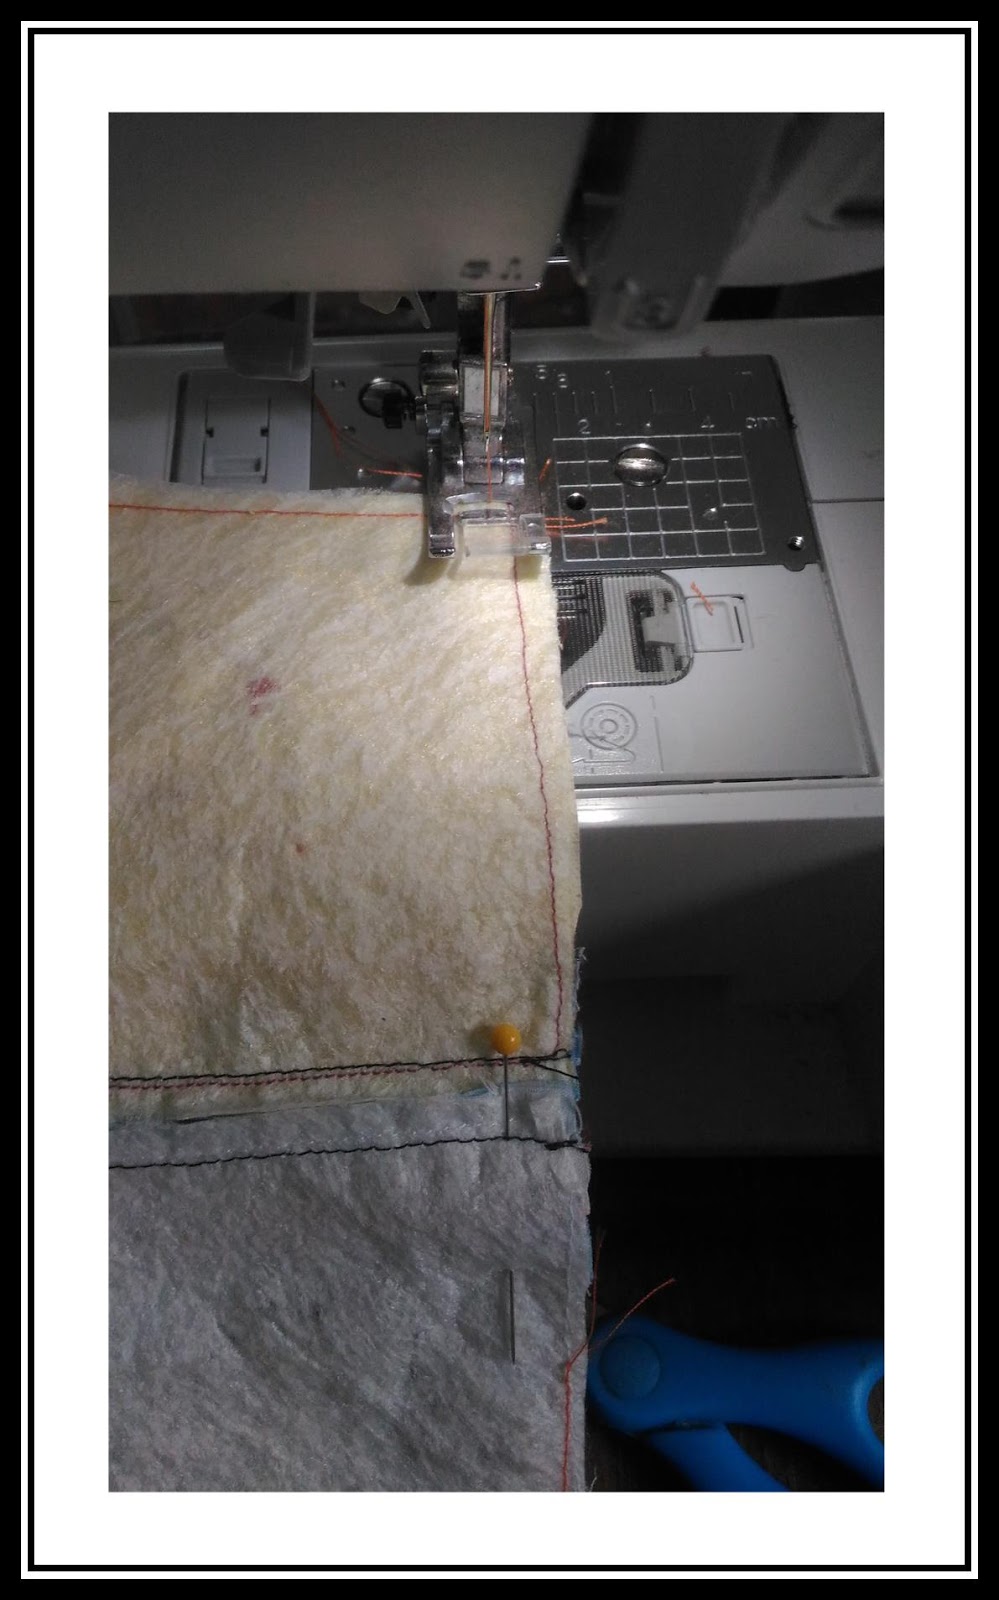
around the edges. Sew together with a 1/8” seam. Please note this step is
optional. I just don’t like dealing with shifting interfacing so I find it
worth it for me. DO NOT DO THIS STEP FOR ANY PART OF THE STRAP.
Lay
out all the pattern pieces for the outside of the bag so the words can be read
or the pictures are in the correct direction.
Lay
out all the pattern pieces for the outside of the bag in the following order
when you look at them:
Front
Bottom
Back
Top
Flap
Lay
the Bottom piece on top of the Front piece. Pin. Sew along the bottom of the
front piece. Press the seam with an iron.
Now
lay the Back piece on top of the Bottom of the bag piece. Pin. Sew along the
Bottom of the back piece. Press seam with an iron.
Now lay
the Top of the bag piece on top of the Back of the bag piece. Pin along the top
edge of the Back of the bag piece. Sew seam. Press with an iron.
Now
lay Flap piece on top of the bag piece, right sides together. Pin. Sew. Iron
flat.
Lay
the bottoms of the sides so they touch the bottom of the bag part.
Make
sure that you like how the panels look and that they are turned the correct direction
for the patches you have made.
Now
turn one of the Sides of the bag and match its side with the side of the Front
part of the bag. Pin sides together. Be sure to back-stitch and sew up to the
edge of the bottom seam. Iron flat.
Rotate
the just stitched side part so that the bottom of the side matches the side of
the bottom part of the bag. Pin. Sew.
Rotate
the side part again so that the long side of the side part matches up with the
long side of the back part of the bag. Pin sides together. Sew.
Repeat
steps 11-13 on the other side for the outer bag, turn right side out then set aside.
Place
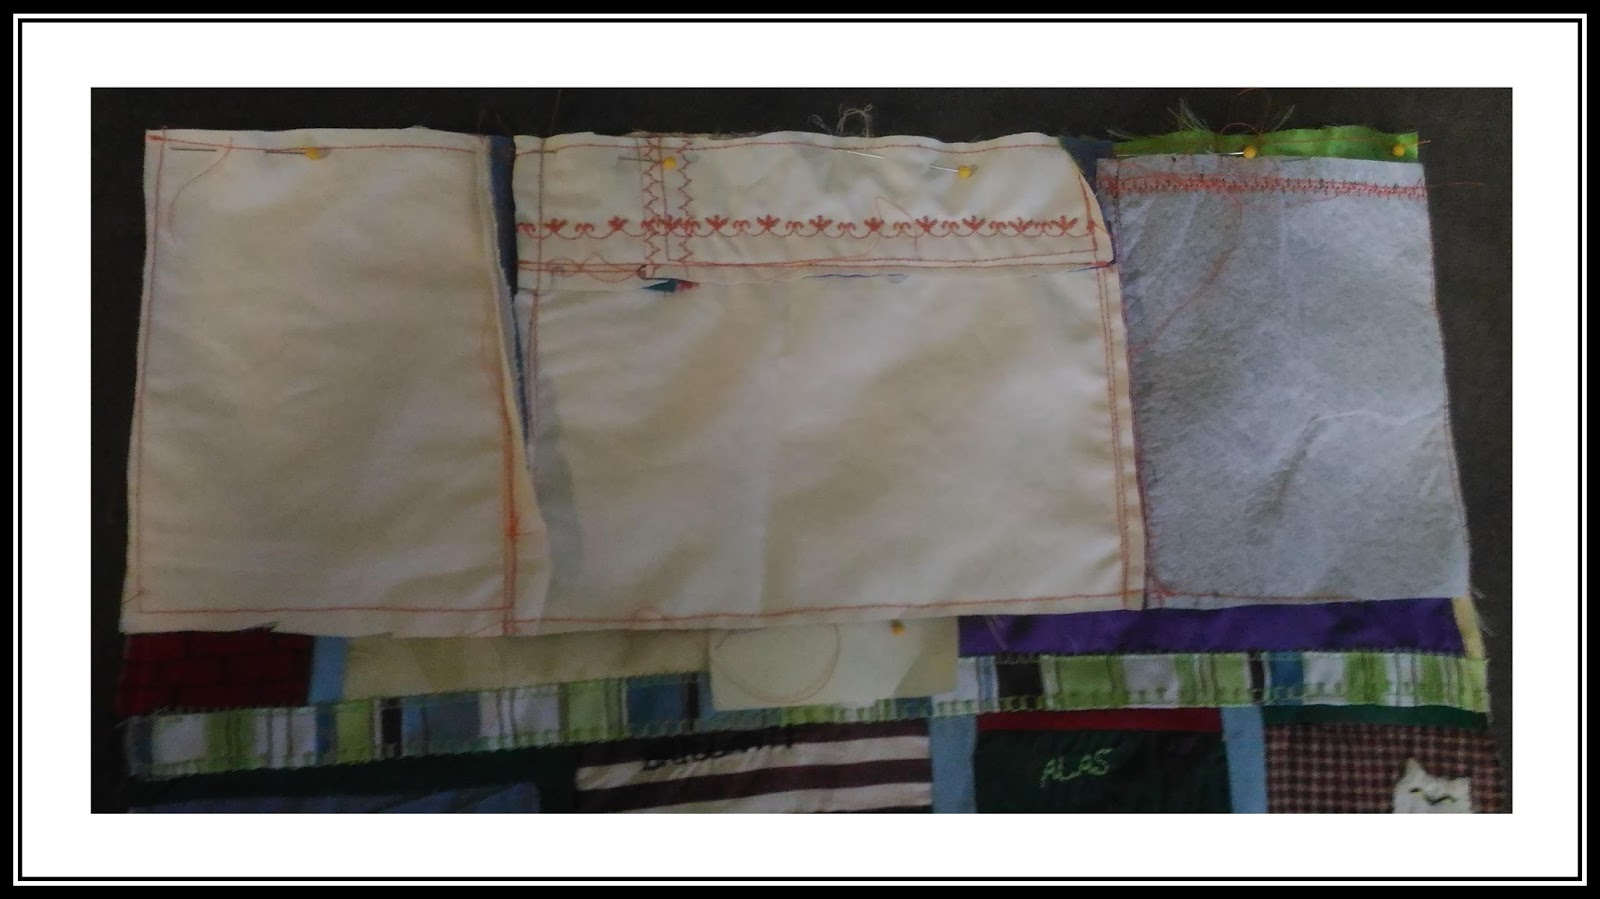
the lining pieces for the inside pockets right sides together. Pin along the
top of the pieces. Sew. Turn right sides out and press the seam flat with an
iron.
Place
the pocket piece on top of the lining piece for the Front of the bag. Take
fabric chalk and mark where the dividers need to be sew. Sew dividers and be
sure to back-stitch edges.
I don’t have fabric chalk so here is an alternative
method for this step. Pin the places where the pockets will be divided. Sew where
the pins create dividers and be sure to back-stitch.Then pin outer edges of pockets to the Front part of the lining and sew 1/8" seam.
Step#17


Now
repeat steps 5-14 for the inside lining of the bag.
Insert
the lining bag inside of the outer bag. Pin the edges together. Sew 1/8” seam
around the edges of the opening for the top of the bag, and flap parts.
Take
blanket binding and place one fold even with the edge of the bag. Pin in place.
Sew edge. Cut corner flap corners. Flip binding. Pin it down. Sew.
I found
it easier to turn the bag wrong side out for this step but that is my opinion.
Pick
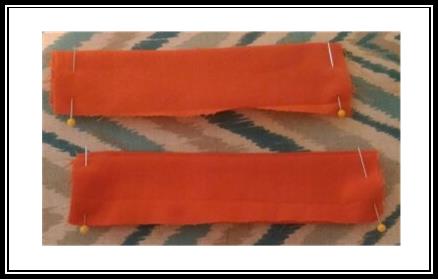
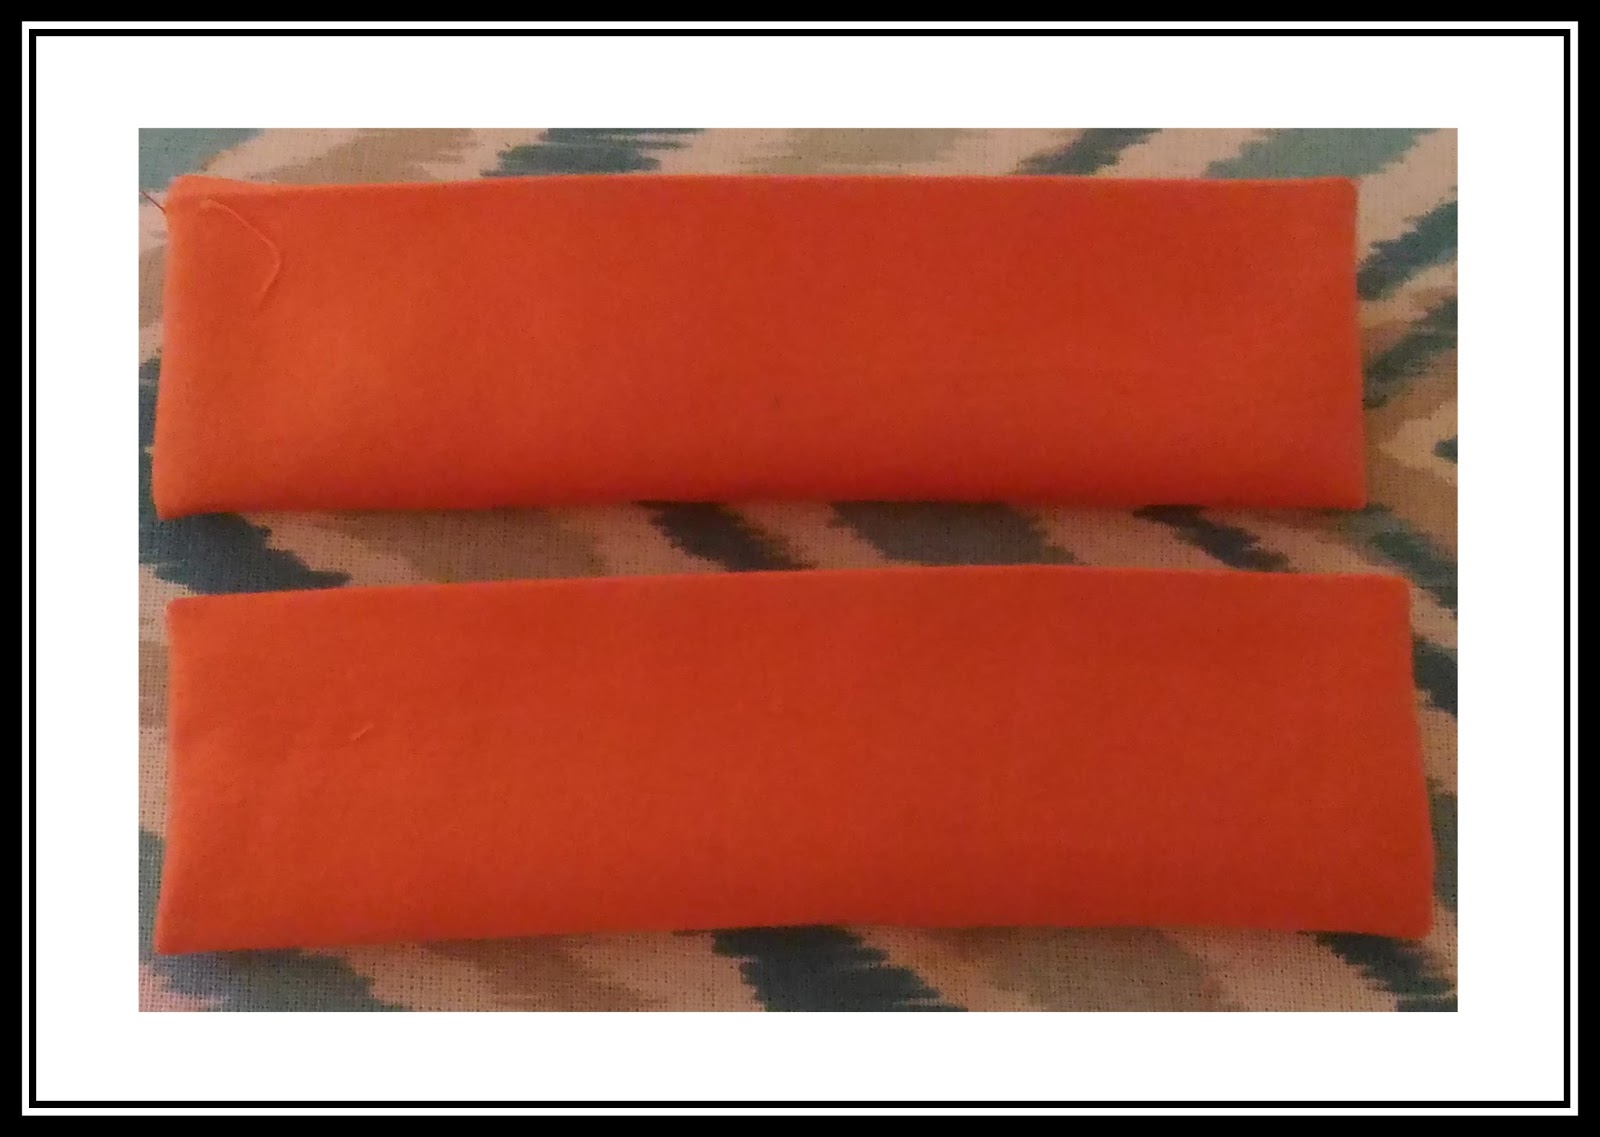
up shoulder strap tabs fabric. Fold in three as shown in picture below. Iron
flat. Fold in half again and iron again. Open it up and reverse the center fold
and iron again. Pin the ends. Sew the ends and cut the corners. Turn right side
out and iron flat. Now take the shoulder strap tab interfacing and slide it
into the tab opening. Pin the edge closed. Sew along both long sides.
Repeat
Step#20 for the long part of the shoulder strap.
Pick
up the Shoulder Strap Tabs and slide threw the D rings. Pin along the bottom.
Sew along Bottom then side near the ring then down the other side till you
close the square shape you are sewing onto the tabs. Be sure to back-stitch. Set
the Shoulder Strap Tabs aside.
I don’t
have D rings so I am using large Jump rings.
Slide
long part of Shoulder Strap threw the slider and back around. Pin then sew.Sew along Bottom then side near the slider then down the other side till you close the square shape you are sewing onto the strap.
Slide
the D ring threw the strap and then put the strap back through the slider. Now
slip the strap through the other D ring and pin. Sew seam.
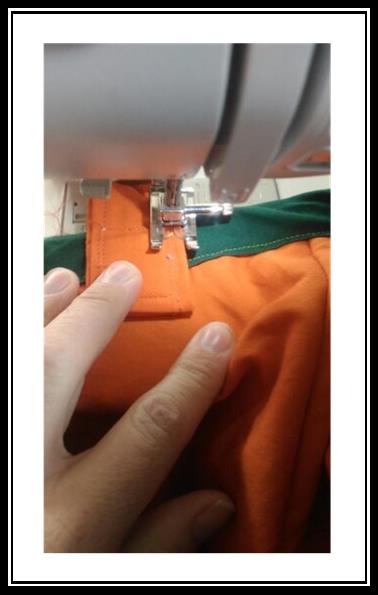
Place
messenger bag strap onto the sides of
the bag. Pin. Sew along the Shoulder Strap Tabs where the seams are already done. Be sure to
back-stitch.
Step
I


Normally
I would put the tabs on the outside of a bag on the sides . However, since that
would cover the side patches in a bad way I am installing the Shoulder Strap
Tabs on the inside so the stitching affects the patches in a minimal way.


Tools
|
Price if new
|
Price we paid
|
Time to get new spent
|
Time to get we spent
|
Sewing machine
|
129.00
|
0 already had
|
45 minutes
|
0 already had
|
Sewing pins
|
4.10
|
0 already had
|
45 minutes
|
0 already had
|
Iron
|
4.36
|
0 already had
|
45 minutes
|
0 already had
|
Scissors
|
1.00
|
0 already had
|
45 minutes
|
0 already had
|
Ironing board
|
13.88
|
0 already had
|
45 minutes
|
0 already had
|
Ruler
|
1.00
|
0 already had
|
45 minutes
|
0 already had
|
Tape
|
1.00
|
0 already had
|
45 minutes
|
0 already had
|
Hand needle
|
1.00
|
0 already had
|
45 minutes
|
0 already had
|
Seam ripper
|
1.49
|
0 already had
|
45 minutes
|
0 already had
|
Printer
|
89.99
|
0 already had
|
45 minutes
|
0 already had
|
Printer paper
|
.01 per page
18 pages
|
.18
|
45 minutes
|
0 already had
|
Parts
|
|
|
|
|
Blanket binding
|
1.85
|
0 already had
|
45 minutes
|
0 already had
|
Outer fabric 1 ½ yard on 60” bolt
|
2.985
|
0 already had
|
45 minutes
|
0 already had from scraps
|
Lining 1 ½ yard on 60” bolt
|
2.985
|
2.50 @ the Arc thrift store
|
45 minutes
|
0 already had
|
Interfacing
1 ½ yard on 60” bolt~3 ½ if you do patches
|
1.485 if only the inside~2.69 if you do patches and add interfacing
to them
|
0 used scraps and denim
|
45 minutes
|
0 already had or substituted
|
Black button
|
1.19
|
0 already had
|
45 minutes
|
0 already had
|
Blue button
|
1.19
|
0 already had
|
45 minutes
|
0 already had
|
White sequins
|
.64
|
0 already had
|
45 minutes
|
0 already had
|
Brown felt
|
.87
|
0 already had
|
45 minutes
|
0 already had
|
Cream felt
|
.87
|
0 already had
|
45 minutes
|
0 already had
|
White felt
|
.87
|
0 already had
|
45 minutes
|
0 already had
|
Blue
|
.87
|
0 already had
|
45 minutes
|
0 already had
|
Black felt
|
.87
|
0 already had
|
45 minutes
|
0 already had
|
Yellow felt
|
.87
|
0 already had
|
45 minutes
|
0 already had
|
Slider
|
.25
|
0 already had
|
45 minutes
|
0 already had
|
Jump rings
|
2.97
|
0 already had
|
45 minutes
|
0 already had
|
Keys
|
6.99
|
0 already had
|
45 minutes
|
0 already had
|
Green ribbon
|
1.00
|
0 already had
|
45 minutes
|
0 already had
|
Brown ribbon
|
1.00
|
0 already had
|
45 minutes
|
0 already had
|
Orange ribbon
|
1.00
|
0 already had
|
45 minutes
|
0 already had
|
Stripped ribbon
|
1.00
|
0 already had
|
45 minutes
|
0 already had
|
Orange thread
|
1.50
|
0 already had
|
45 minutes
|
0 already had
|
Black thread
|
1.50
|
0 already had
|
45 minutes had
|
0 already had
|
Red thread
|
1.50
|
0 already had
|
45 minutes
|
0 already had
|
Blue thread
|
1.50
|
0 already had
|
45 minutes
|
0 already had
|
Purple thread
|
1.50
|
0 already had
|
45 minutes
|
0 already had
|
Yellow thread
|
1.50
|
0 already had
|
45 minutes
|
0 already had
|
White thread
|
1.50
|
0 already had
|
45 minutes
|
0 already had
|
Light blue thread
|
1.50
|
0 already had
|
45 minutes
|
0 already had
|
Dark green thread
|
1.50
|
0 already had
|
45 minutes
|
0 already had
|
Brown thread
|
1.50
|
0 already had
|
45 minutes
|
0 already had
|
Time to
Procure
|
|
|
|
|
|
I couldn’t find a HP messenger patched bag anywhere on-line at any
price. Inspired by a small purse teeshamoore an artist created years ago but
does not have any for sale in her shop. Although a purse wouldn’t work for
our son so I am unsure how to calculate this one.
|
2.50 for lining fabric
|
1 hour 2 @ the Arc thrift store
|
2 months’ worth of sewing in every spare moment I could get on my own
and teaching “Little Fish” some sewing techniques the patches offered.
|
Price
|
???????? If brand new. If you needed all the tools and part=282.41
. If you just need parts then it would cost=48.26
|
2.50
|
0 since it can’t be bought
|
2 months
|